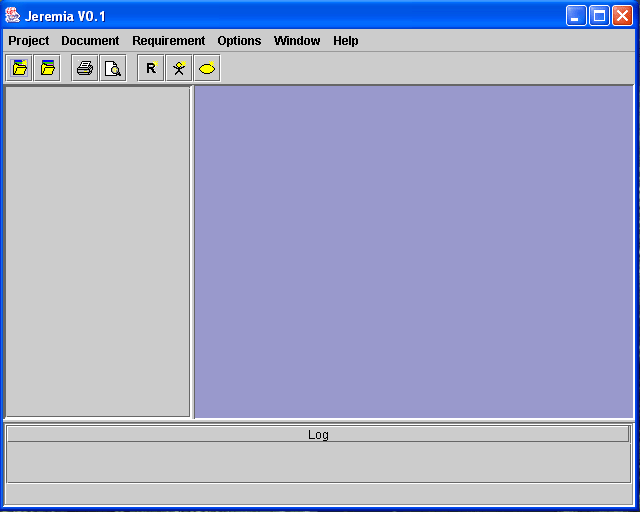
JEREMIA Installation
Checking what's on your System
JEREMIA is a JAVA-based Database application. From this folows,
that you need at least 4 elements for successfully running the application.
- the JAVA runtime 1.4.1 or later
- a supported Database (currently only MySQL 4.07 or later)
- the JEREMIA application itself
Getting the Software
Now we get the software, that is currently missing on your system.
Installation of the Java Runtime
The installation description can be found here
Remember, where you installed the java runtime. We need the installation directory later in the installation process.
Installation of the database managament system
In a Multi-User/Multi-Server-Environment there is probably some database managament system installed. If you want high performance, high securtiy for the
System: Use it. Ask your database adminstrator which database server to use (remember MySQL or Oracle). Because we need the
Database administrator password during JEREMIA database installation, this is a good time to ask the database administrator for
participation during your installation efforts.
If you want to install the database management system on your own, do so.
Installing JEREMIA
- Unzip the installation package
- Run the installation package
java -jar jeremia_install.jar
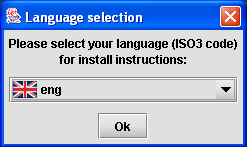
- select the installation language and press the OK-Button
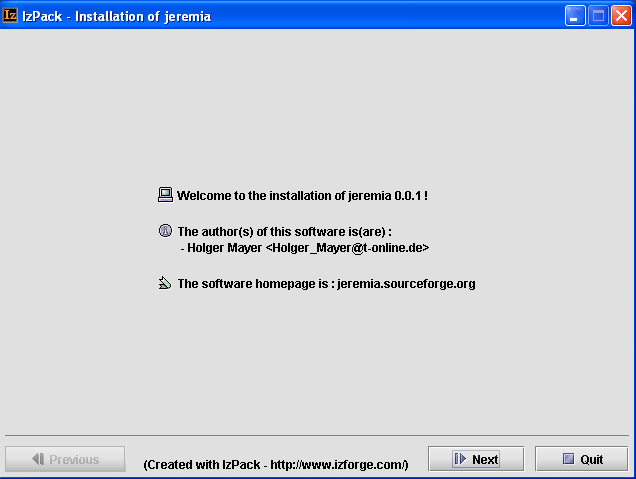
- The installer displays the Welcome-Screen. Press the Next-Button.
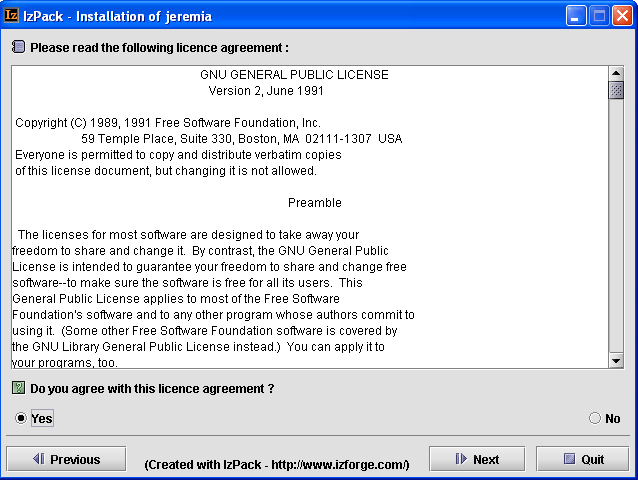
- The installer displayes the license. If you accept the license agreement select YES and press
the Next-Button. If you don't want to accept the license agreement cancel the installation with the Quit-Button.
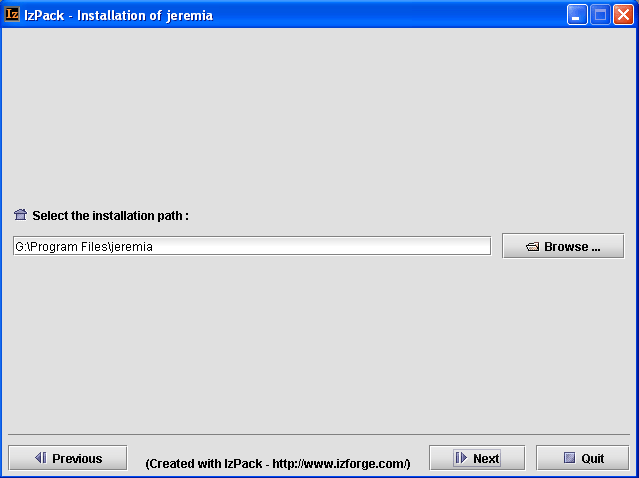
- Now select the installation path. The installer shows a default installation path. If you accept this path, just press
the Next-Button. If you want to change the path, do so and press then the Next-Button.
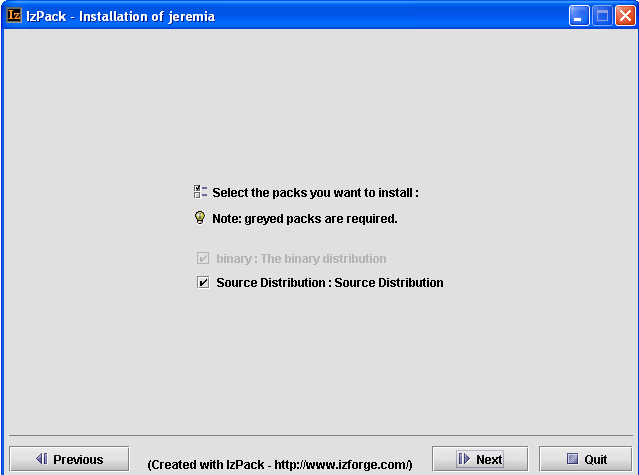
- Now the installer display the package options. Here you can select or unselect the source package for installation. For simply using the
JEREMIA Software it is not necessary to install the source package! Press the Next-Button to continue the installation.
- Now its time to start the Installation
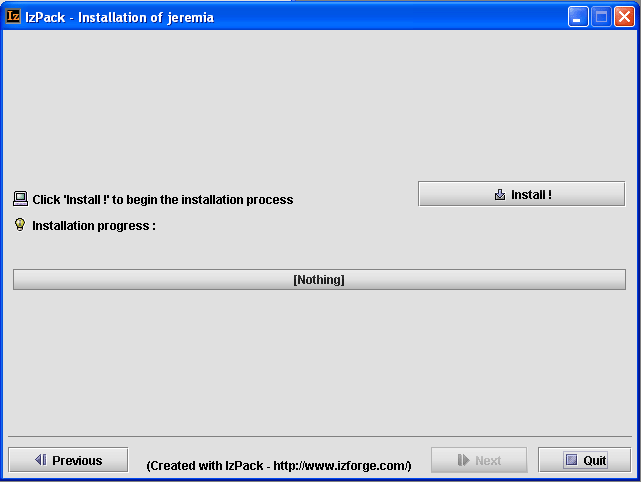
- Press the Install !-Button to start the installation

- You can follow the installation progress.
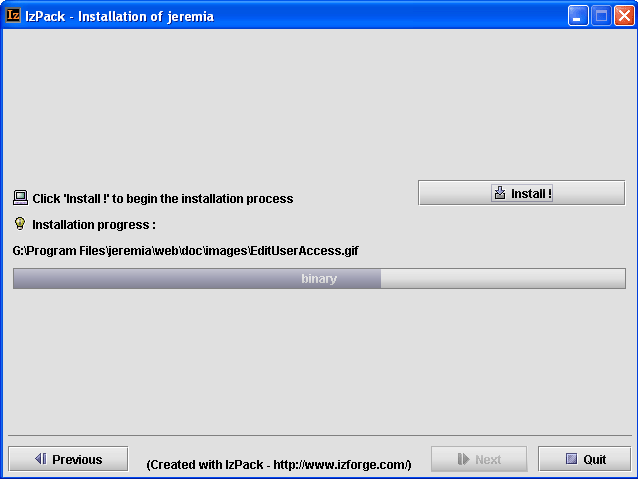
- Finally the installation is finished.
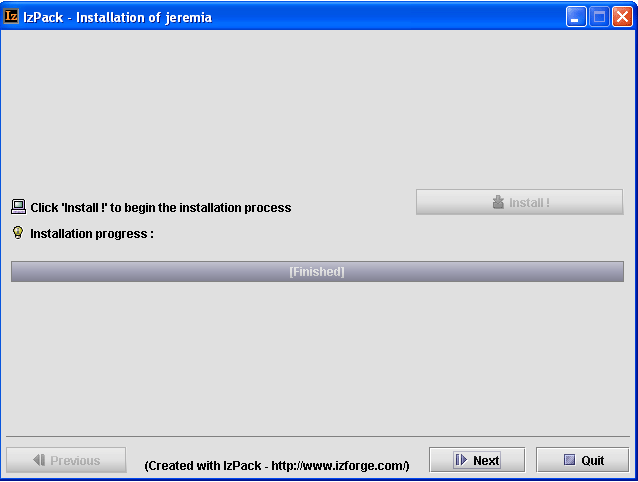
- Press the next-Button.You will be informed, that an uninstaller has been installed with the software.
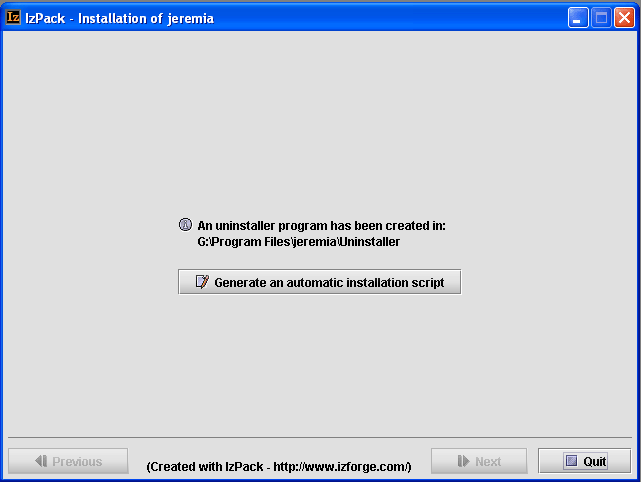
- Press the Quit-Button and the installation is completed.
Creating the database
Step 1 : Create the database in your mysql database system
Run your mysql client application. If your mysql database is installed at c:\mysql enter in a command prompt:
C:\MySQL\bin\mysql.exe
The program displays a welcome message and a prompt. Now enter the database creation command and run it with hitting the return key:
create database jeremia_db;
Now leave the database client
exit;
Step 2 : Install the tables and data
Execute the command : db.bat
- The program asks the user for the database, driver and URL.

- Select the database (mysql) in the database combobox
- The driver and URL-Fields are set to default values.You must check this values, especially the correctness
of the URL.
- Press the Set-Parameter-Button to store your selected values.The Programm creates a file
jeremia.properties.
If your properties were wrong or you will change the values, delete this file. When you start the JEREMIA program the
next time, your will be asked again for the parameter values.
- A dialog asks for the database administrator login. Enter the username and password and press the login button.
- The program now creates the database and the database user
- The program creates the database tables and the base data.
Running the Application
- Execute the command :
run.bat
- The System displays the login screen

- Enter the username and password (i.e preinstalled username
theadmin with password theadmin) and press the login button.
The application starts up.
